

How To Install A New Toilet Uk
Is information technology easy to fit a new toilet?
Information technology's not as well difficult to fit a new toilet to an existing soil pipage in your home. However, if you are installing a new toilet into another part of the business firm, then it'due south best to telephone call a qualified plumber to connect the toilet to the main pipe.
This guide demonstrates how to fit a close-coupled toilet, which is the design near widely fitted across houses in the UK. Other designs such as dorsum-to-wall toilets or high-level toilets have unlike fitting requirements – check the manufacturer's instructions. On a shut-coupled toilet the cistern sits direct on height of the pan, and there are a huge range of styles to cull from.
Before you lot remove your one-time toilet, make certain you thoroughly inspect your new 1 for signs of damage and to bank check that you have all the parts and fittings. If you want to save water - and save on your h2o bills - and then choose a toilet that has a dual-flush system. These have the options of a long or short flush and are great for cutting down on water use.
If you're installing a new toilet equally part of a new bath, always make certain you lot tile the flooring first. It's easier to fit a toilet on summit of tiles rather than having to cut tiles to shape round a toilet.
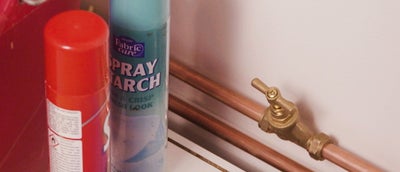
When fitting a new toilet remember to take appropriate safety measures such as wearing gloves and rubber goggles.
How to remove a toilet
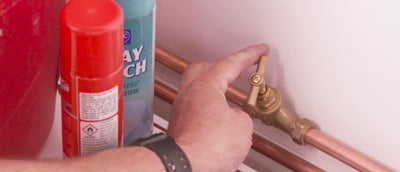
Before removing a toilet, turn the water off at the mains. The location of the mains stopcock varies, but it's usually most the kitchen sink or exterior the front of the property.
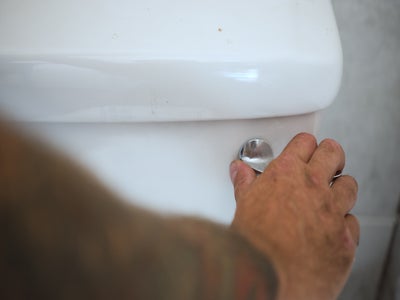
Flush the toilet to empty the cistern of water. And so use a cup, sponge or towel to remove as much of the remaining water as you tin can from the toilet basin and cistern. Take a bucket to manus to collect the h2o.
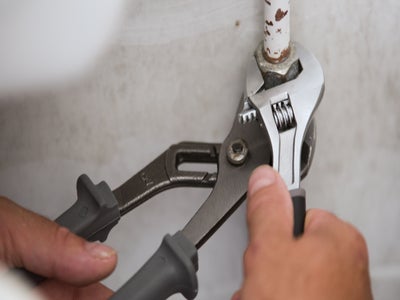
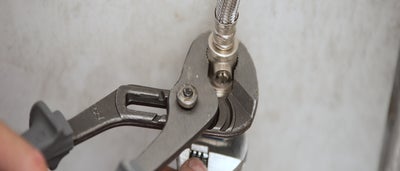
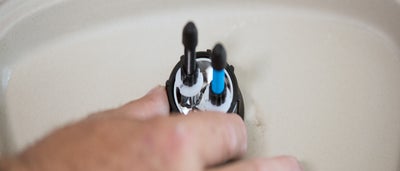
Disconnect the water supply to the toilet with an adjustable wrench and cocky-grip pliers.
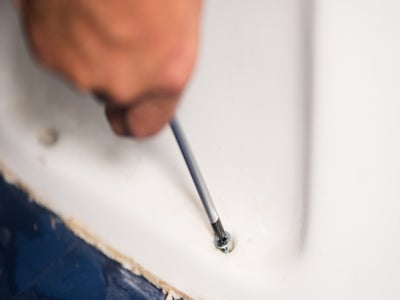
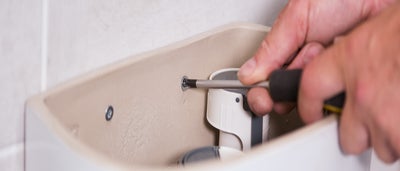
Remove the screws from the base of operations of the toilet and from the inside of the cistern if information technology is attached to the wall.
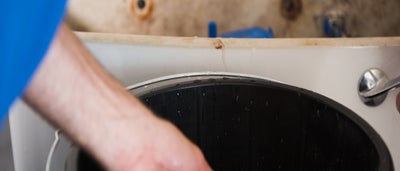
Gently detach the old toilet from the soil pipe. Afterwards you can push a cloth into the pipe to help prevent potentially harmful and unpleasant smelling gases coming up from the mains sewers.
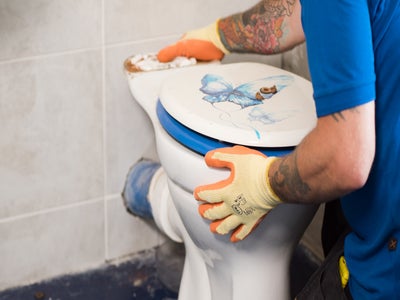
Completely remove the former toilet and clean the surrounding flooring and then it'south free from clay and crud. You might need a sharp pocketknife to cut abroad whatever silicone sealant. Your old toilet should exist tending of safely by taking it to your local waste matter recycling middle.

How to fit a close coupled toilet
Gather and fit the affluent machinery and inner parts of the cistern, according to the manufacturer'due south instructions. Don't over tighten any fixings at this stage.
Attach the large shut couple washer to the top of the pan. Then carefully lift the cistern into position, making certain that the flush mechanism thread fits into the washer, and that the bolts sit comfortably through the holes in the pan.

Secure the cistern to the pan by tightening the supplied washers and wing nuts onto the bolts.
Connecting the new toilet to the existing soil pipe
Insert the pan connector to the waste piping, making sure the fit is snug.
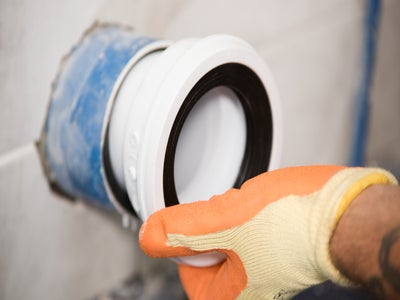
Adhere the waste material piping to the pan connector, making sure the two are aligned and so that the fit is as snug as possible, and the pan connector goes right into the collar. A flexible pan connector can be easier to fit and may be more suitable in bars spaces.

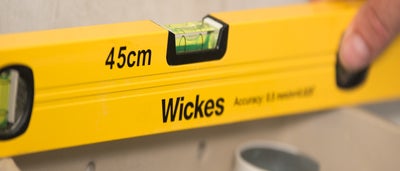
Use a spirit level to check that the pan is level, and make pocket-sized adjustments if necessary by using packers underneath the pan.
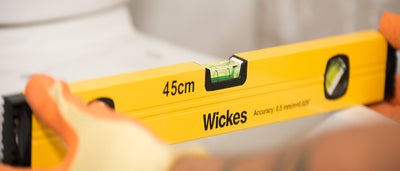
Utilize a spirit level to check that the cistern is level. If your cistern has fixing holes in the back, mark the position of these holes onto the wall with a pencil.
How to fit a toilet pan to the floor
Utilize a pencil to marking the outline of the toilet pan onto the flooring. Then marking the position of the fixing holes.

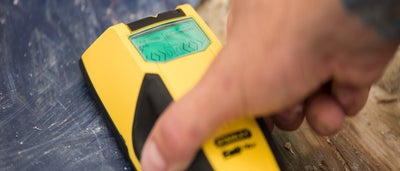
Slide the toilet pan back out, and so employ a cable and pipe detector to make certain all the fixing points are free from obstructions.
Drill your airplane pilot holes, using a 10mm drill bit to finish the holes. If yous are fitting the toilet to a concrete floor you will demand to use a masonry drill bit and wall plugs.

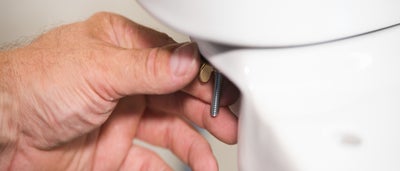
Put the toilet into position and secure the pan to the floor brackets with the provided fixings. Follow the manufacturer's instructions and be conscientious not to overtighten the fixings.

If your cistern has fixing points, use them to secure the cistern with advisable wall plugs, fixings and screws. If the cistern doesn't have fixing points you can use silicone sealant or adhesive to secure it to the wall.
If you're drilling into tiles, place some masking tape over the marked holes earlier you start drilling. This will terminate the drill bit from slipping.
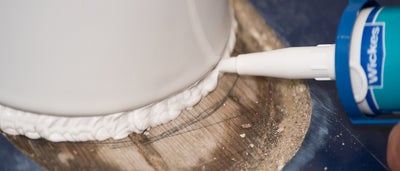
Now that the toilet is secured, utilize silicone sealant around the base of operations.
Connecting the water supply to the toilet cistern
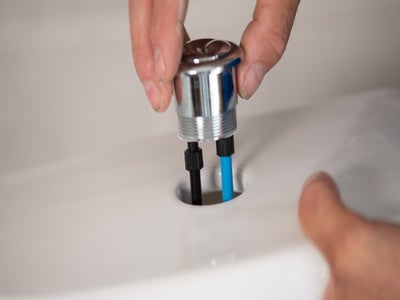
Apply some PTFE record and reconnect the cold water supply. Depending on the position of the inlet on the new cistern y'all may need to install a flexible connector pipe, preferably one with a small isolation valve.
Turn the water on and check for whatsoever leaks along the pipes and seals. Go along some erstwhile cloths or towels handy for this phase. If your stopcock isn't situated nearly the bathroom and so y'all can ask a friend to turn the h2o on for you whilst you sentry for leaks.
Finish plumbing fixtures the flushing mechanism every bit per the instructions provided, then secure the cistern lid before testing the flush.
Plumbing fixtures a toilet seat
Fit the hinges to the toilet seat and then attach the seat to the pan using the provided fixings.

Finally utilize some more silicone sealant to the base of the toilet, smoothing it down with a clammy sponge or textile for a neat finish.


Source: https://www.wickes.co.uk/how-to-guides/bathrooms/fit-a-toilet
Posted by: bainpenit1972.blogspot.com
0 Response to "How To Install A New Toilet Uk"
Post a Comment